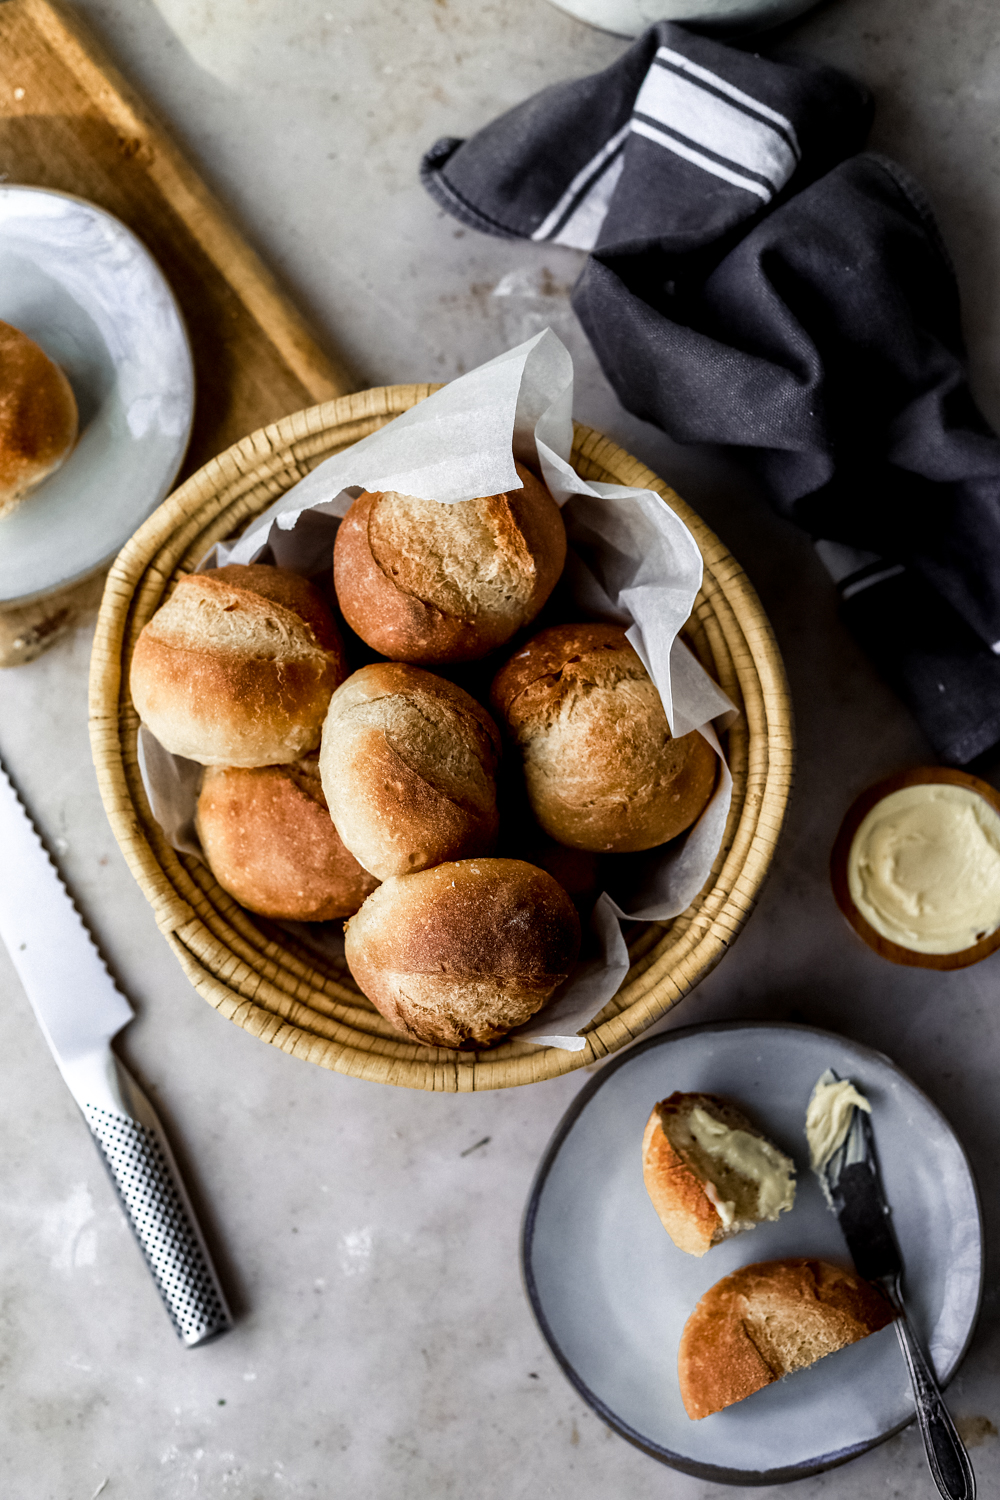
Crispy, crusty dinner rolls that are soft and fluffy on the inside! Sourdough and yeast for the perfect texture, actually delicious dinner rolls that are 100% worth it.
True confession: I usually pass on the bread basket when I go to restaurants. Here’s the thing, if you’re going to serve bread before a meal, it should warm, crusty, FRESH, and light.
That’s exactly what these crusty bread rolls are – actually delicious dinner rolls that you don’t want to pass up!
Want more simple and delicious bread recipes? Check out:
The best Homemade English Muffins
How to make crusty dinner rolls
The method is much simpler than you probably think! Basically, I mix up these very basic pantry ingredients in a bowl, by hand. No fancy mixer or bread machine required. The difference between crusty dinner rolls and soft Parker House style rolls is the addition of fat. The dough for these Actually Delicious Dinner Rolls is very “lean,” meaning it doesn’t contain any additional fat. This creates a light, “holey” crumb, and a crusty exterior.
For me, the best part about dinner rolls is the very crispy outer crust. In order to achieve this, we’re baking these bread rolls at a high temperature, and adding steam to the oven.
There are many ways to create steam in the oven, but I always come back to the same method:
- Place a cast iron skillet in the oven while it is preheating. Just before you put the rolls in to bake, pour boiling water into the hot skillet.
- Be very careful because the hot steam can burn you. I also have a small spray bottle near my oven, and i like to spray water into the oven as I place the rolls in to bake. When baking bread, I recommend where actual oven mitts, rather than using square pot holders. The mitts protect your wrists and forearms when taking bread in an out of the hot oven.
Ingredients
- unbleached all purpose flour – I use unbleached all purpose flour from King Arthur Baking Company. It has a higher protein content than most AP flours. You could use bread flour if that’s what you have.
- whole wheat flour – Using a bit of whole grain wheat flour adds a really nice nuttiness to this rolls, while still keeping them light and fluffy.
- yeast – I use dry active yeast in this recipe, and my favorite brand is Red Star Yeast for its consistent and professional results. I mix the dry active yeast with the warm water to activate it, or “wake it up.” Also, I always store my yeast in the fridge to prolong its shelf life.
- sourdough starter – The sourdough starter adds A LOT of depth of flavor to these dinner rolls. The flavor is more tangy and nutty, and tastes like a mini artisan loaf of bread. I’ve tested this recipe with active sourdough starter, as well inactive starter from the fridge, and it worked really well both ways. The rolls are slightly fluffier with an active fed starter. Check out my Sourdough Starter guide here for more tips about feeding and maintaining a homemade sourdough starter.
- kosher salt – I use Morton’s kosher salt in all of my bread recipes. If you are using Diamond Crystal, add another 4 grams of salt.
- water – I use water that’s about 85 degrees F, slightly warmer than room temperature. It’s important that the water is not too hot, otherwise it will kill the yeast, and your rolls won’t rise properly. A lot of the tap water in the US is treated with chemicals like fluoride and chlorine, which can negatively affect the rise of our dough. To avoid this, I prefer to use filtered spring water for all of my bread baking.
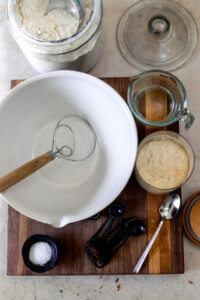
ingredients
Tools I use:
- Large mixing bowl – one the most FAQ, this is my favorite bowl for mixing dough!
- kitchen scale – this is an absolutely necessary tool for baking bread. If you want consistent, professional results, weighing your ingredients with a scale is a must.
- Danish dough whisk – this is a quirky looking tool that is actually very useful for mixing up bread dough. If you make bread often, I highly recommend getting one!
- small spray bottle – This basic little tool comes in handy for adding just a little extra shot of extra steam to the oven. Sometimes I spray the tops of the rolls before I place them in the oven to get a blistered crackly top.
- bread lame for slashing dough – there are many styles of bread lames, and ultimately choose the one that is most comfortable in your hand. I love this round style, and I’ve tried almost every style out there.
Can I leave out the sourdough starter?
Yes! If you don’t have a sourdough starter, you can absolutely leave it out. Just add an extra 2 grams of yeast, and the recipe should work just as well. The flavor won’t be quite as complex, but they’re still great.
But here’s the thing, if you’ve ever wanted to make a sourdough starter but feel intimidated or just unsure about where to start, I got you! Click here for a full guide to making your own Sourdough Starter from scratch!
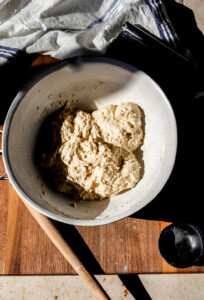
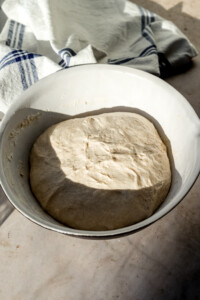
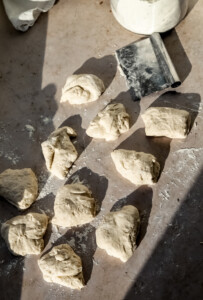
equally portion out dough in 10 pieces
How do you crisp up dinner rolls?
Professional reheat tip! The easiest way to crisp up day-old bread is to spray the outer crust with lightly with water. Then place the bread rolls (or loaf) into a 350 degree F oven, and bake for a quick 10 minutes. When the bread emerges, it is crispy, crusty, and tastes like it was freshly baked. I use this same trick for crisping up baguettes and challah too, and it works like a charm every time.
Try this technique with bread that has been frozen as well! Bread actually freezes really well, and if there’s every a loaf that I can’t finish I wrap it tightly in plastic wrap, and freeze. If it is sliced, I will toss a slice right into the toaster. But if the loaf is whole, I do the spray/oven method to revive.
How do you make bread crusty?
There are three main factors to making really great crusty bread. First, you have to get the hydration level just right. This means the water to flour ratio has to be balanced. If the dough is too wet, for example, it will be very difficult to get a crispy, shatteringly thin delicious crust. The crust will like be thick and tough.
Second, use steam to bake! For these rolls, we’re adding steam to the oven. In my other bread loaf recipes, we bake them in an enclosed Dutch oven. The goal is the same. Adding moisture and steam to the oven keeps the outer crust of the bread soft, which allows the interior of the bread to rise to its full potential before the outer crust hardens.
If we DID NOT add steam, the outer crust would harden right away in the 450 degree oven, without giving the bread a proper chance to rise. So, the loaf/roll would be flat, with a hard crust.
How to store
These delicious dinner rolls are best stored at room temperature for up to 3 days. Or, place them in an airtight bag, and freeze them for up to 1 month.
See instructions above for reheating the professional way.
I can’t wait to see your take on these Sourdough Dinner Rolls. Remember to tag me @lions.bread in your pics so I can all of the delicious things you’re making from my site. I love seeing my recipes come to life in your kitchens!
Want save this recipe for later? Just click on the “Pin It” buttons on any of the images to save it to your favorite Pinterest Board.
xo – LeAnne
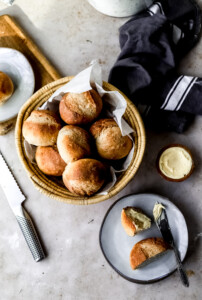
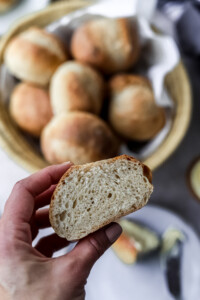
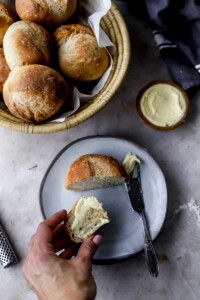
Sourdough Dinner Rolls
Crispy, crusty dinner rolls that are soft and fluffy on the inside! Sourdough and yeast for the perfect texture, actually delicious dinner rolls that are 100% worth it.
Ingredients
- 335 g warm water 85°F
- 4 g dry active yeast
- 100 g active sourdough starter *see notes in post if you don't have a sourdough starter
- 35 g whole wheat flour
- 400 g unbleached all purpose flour
- 11 g kosher salt Morton's brand
Instructions
To a large mixing bowl, add the warm water, dry active yeast, and active sourdough starter. Use a whisk or Danish dough whisk to combine, and dissolve the starter. Let sit at room temperature for 5 minute to activate the yeast.
Add the whole wheat flour, unbleached all purpose flour, and kosher salt to the bowl. Use a Danish dough whisk or a wooden spoon to mix the dough. It will be a bit sticky and shaggy. That's totally normal.
Then use your clean hands to finish mixing the dough. Use a pinching motion to incorporate all of the flour and salt, making sure that there are no dry spots.
Cover the dough with plastic wrap, or a clean shower cap. Let it rest at room temperature for 15 minutes.
Instead of kneading this dough, we're going to do a series of stretches and folds. This is a gentle way to build up the gluten strength without tearing the dough. Keep the dough in the bowl, and start by stretching/pulling up one side of the dough gently until it won't give any more. Then fold the stretched dough over the rest of the dough. Rotate the bowl 90°, and stretch up another side of the dough, then fold it over. Work your way all around the bowl. Then reach under the ball of dough, and plop the whole thing over. Cover with plastic wrap, and let it rest for another 15 minutes at room temperature.
Repeat the stretch and fold process one more time. Then cover the bowl again, and let it rise at room temperature for about 2-3 hours until it has nearly doubled in size, and is puffy. This depends a lot on the temperature of your kitchen. A warm kitchen will make the dough rise faster. A cold kitchen will delay the rise.
Lightly flour your work surface. Pour the dough out onto the work surface. Divide the dough into 10 equal pieces. Use a kitchen scale to make sure they're equal. Each dough ball should weigh about 80-82g.
Preheat the oven to 425°F. Place a heavy skillet or baking pan in the oven to preheat as well, to create steam while the rolls bake.
Line a baking sheet with parchment paper. Set aside. Boil a kettle of water. Set aside.
Shaping the Dinner Rolls
Work with one piece of dough at a time. Lightly flour your hands. Bring all of the edges of the dough into the center, pinch to seal. Place the dough, seam side down onto the work surface. Make your hands into a claw/cage shape, and gently roll the dough under your hand on the work surface, to create tension, and a more round shaped roll.
Place the shaped rolls on the parchment lined baking sheet, about 1.5 inches between each rolls. Lightly sprinkle the tops of the rolls with flour. Lay a clean kitchen towel over the top of the rolls, and proof (rise) at room temperature for another 45 minutes.
Carefully pour the kettle of water into the heated cast iron pan in the oven. Be very careful because the hot steam can burn.
Slash the top of the rolls with a lame or very sharp chef's knife. The slash should be about 1.5-inches long. Try to hold the blade at a 45° angle, and cut about 1/2-inch deep.
Place the rolls into the steaming hot oven immediately after slashing. Bake for 15 minutes. Carefully open the oven door because of the hot steam, and rotate the baking sheet 180°, bake for another 10-15 minutes until the rolls are very golden brown. Let cool for at least 30 minutes. Serve warm, or crisp up before serving *see notes in post.
The post Sourdough Dinner Rolls first appeared on Lion’s Bread Blog.


