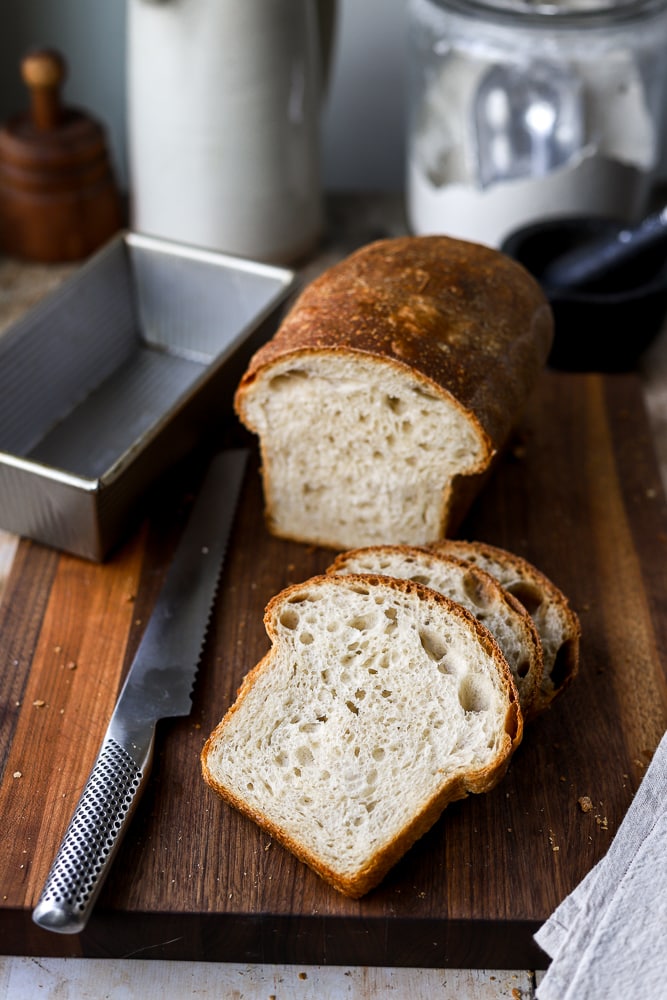
the crowd goes wild! this Soft Sourdough Sandwich Bread will become a staple in your house – it is soft, crispy, airy as a cloud, and absolutely delicious!
*This post may contain affiliate links. For more details, please visit the Disclosure page.
Not to overstate: but this is my FAVORITE loaf of sandwich bread! Ssssshhhh, don’t tell the others, hehe!
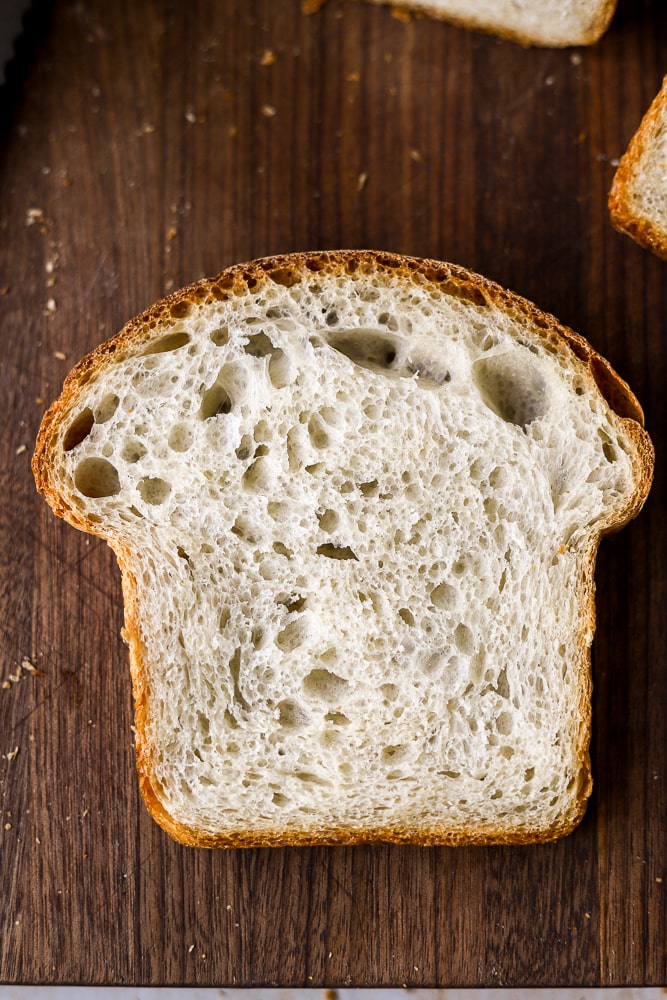
It is light, and airy, and has a delicious thin and crispy crust. Slice it thin or thick, and your sandwiches, toasts, and tartines will be next-level! It is made with unbleached all purpose flour, and is wholesome with a *slight* tang from the sourdough.
Why you should make your own bread
HOT TAKE: We don’t suffer from any gluten intolerance, and I think making my own bread with high quality, minimal ingredients has a lot to do with that. It’s a very sensory/meditative process, and it makes me nostalgic for a simpler time – before corporations took over the farming and food industry and before bread had a list of 20+ ingredients on the supermarket shelves.
With just a few basic ingredients and a couple of tools, you can create delicious artisan bread at home (see my list of tools below).
Here’s the thing with baking 100% Sourdough Bread at home: it’s not difficult, it just takes time.
Full disclosure, you may have to make this a couple of times before you really get a feel for it, and that’s totally ok. Every great bread baker has made countless loaves, and over time you really do get a FEEL for it. Slicing into a beautifully proofed, airy loaf of bread is highly satisfying and exhilarating, and totally worth the effort.
Want more homemade bread recipes? Check out:
What Is Sourdough?
The back bone of homemade sourdough bread, is of course, the sourdough “starter”. A starter is a mix of flour and water that has been fermented over time, and contains a natural colony of yeast that leavens dough (makes it rise). In this post, we’re not discussing how to make your own starter, because we covered that THOROUGHLY on my Instagram Stories. If you haven’t yet, watch my stories for the FULL tutorial on How to Make a Sourdough Starter.
Don’t have a Sourdough Starter?
Don’t sweat it! Make your own sourdough starter in 7 days with this full tutorial. This guide will hold your hand the whole way through, and by the end of 7 days, you’ll have an active sourdough starter that’s ready to bake with.
Ingredients
unbleached all purpose flour – I prefer to use unbleached all purpose flour made King Arthur Flour. I find that their flours always deliver consistent results, and the higher protein content in the AP helps with gluten development.
water – the temperature of the water is important. It should be warm room temperature, around 80 degrees F.
active sourdough starter – This recipe work best with an active sourdough starter that’s been fed 8-12 hours prior. That being said, you can also use sourdough discard but the fermentation timeline will probably take longer.
honey – it’s a tiny amount of honey and it just adds to a beautiful complex flavor. If you want, you can also substitute maple syrup for a vegan option.
olive oil – I prefer to use a light olive oil for this bread with a milder flavor. The olive oil adds to the crispiness of the crust, and the softness of the crumb.
kosher salt – I always bake with kosher salt, I like the level of salinity and the clean flavor. My favorite brand is Morton’s, but if you’re using Diamond Crystal add another 2 grams of salt.
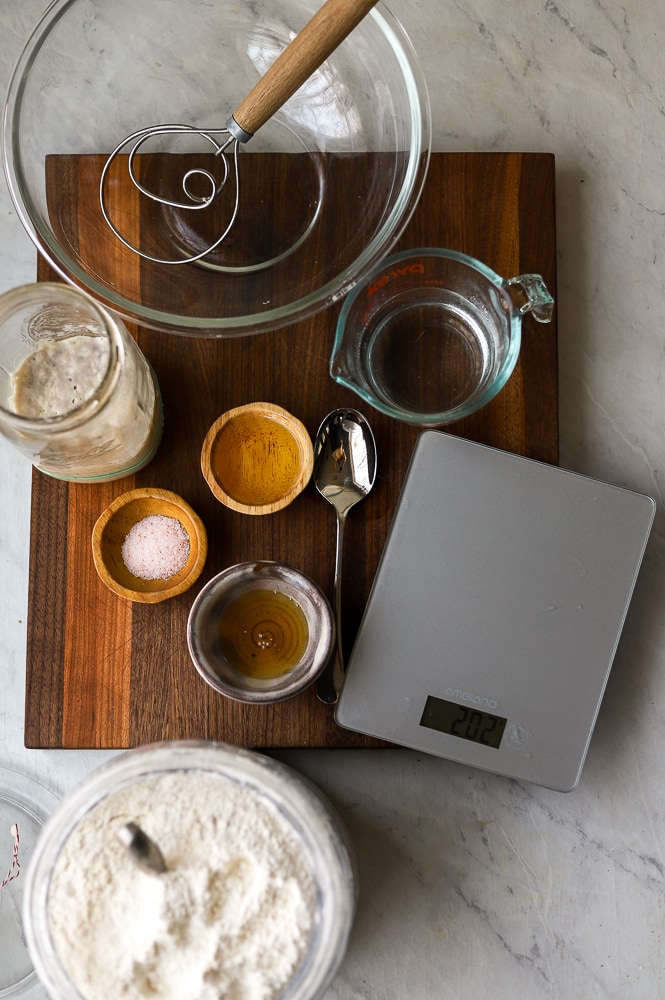
ingredients
Essential Sourdough Making Tools
Here’s my complete guide Sourdough Bread Tools that every baker needs!
9×4″ loaf pan – this is my perfect 1 pound loaf pan. I love the ridged sides, and the sharp corners.
Danish Dough Whisk – this is a really handy tools that is specifically designed to mix bread dough by hand. I use it in the beginning stages of mixing, then mix with my hands.
Metal Bench Scraper – This is kitchen workhorse, and I use it almost daily to shape dough, cut dough, and move ingredients around the kitchen.
the step-by-step process
- In a large mixing bowl, combine the warm water, and the sourdough starter. Use your fingers, or a Danish dough whisk to dissolve the sourdough starter into the water.
- Add the olive oil, and the raw honey to the bowl. Whisk to incorporate.
- Pour in the unbleached all purpose flour, and the kosher salt. Use a wooden spoon, or your hands to incorporate the flour into the wet ingredients. The dough will be shaggy, but that’s ok. Use you hands to pinch the dough to combine. Knead the dough for a minute in the bowl, then cover with a clean shower cap, or plastic wrap. Let the dough rest for 30 minutes.
- It’s time to stretch and fold the dough. This is a gentle form of kneading the dough and developing the gluten. Start by lifting up one corner of the dough as far as it will go without tearing. Then fold it over the dough ball. Rotate the bowl, and repeat with the next side of dough, working your way all around the bowl. Cover the dough, and let it rest for another 30 minutes.
- Do one more set of stretch and folds. The dough should be much smoother this time.
- Cover the bowl with plastic wrap or a shower cap, and let it proof at room temperature for 4-5 hours until it is relaxed and puffy.
- Spray a 9×4″ loaf pan with nonstick cooking spray, making sure to spray the sides.
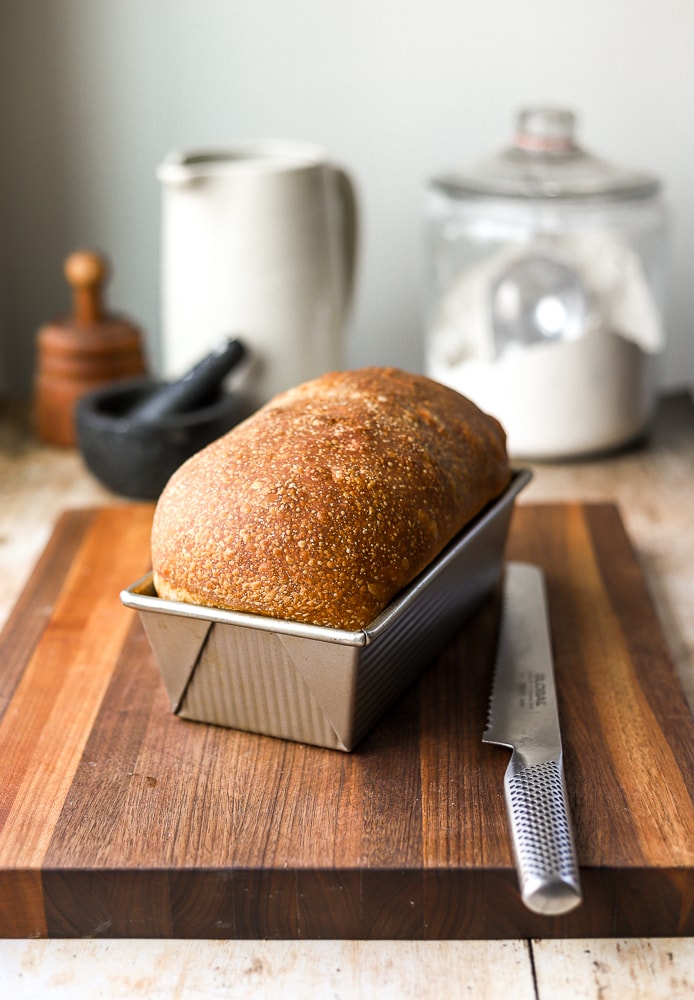
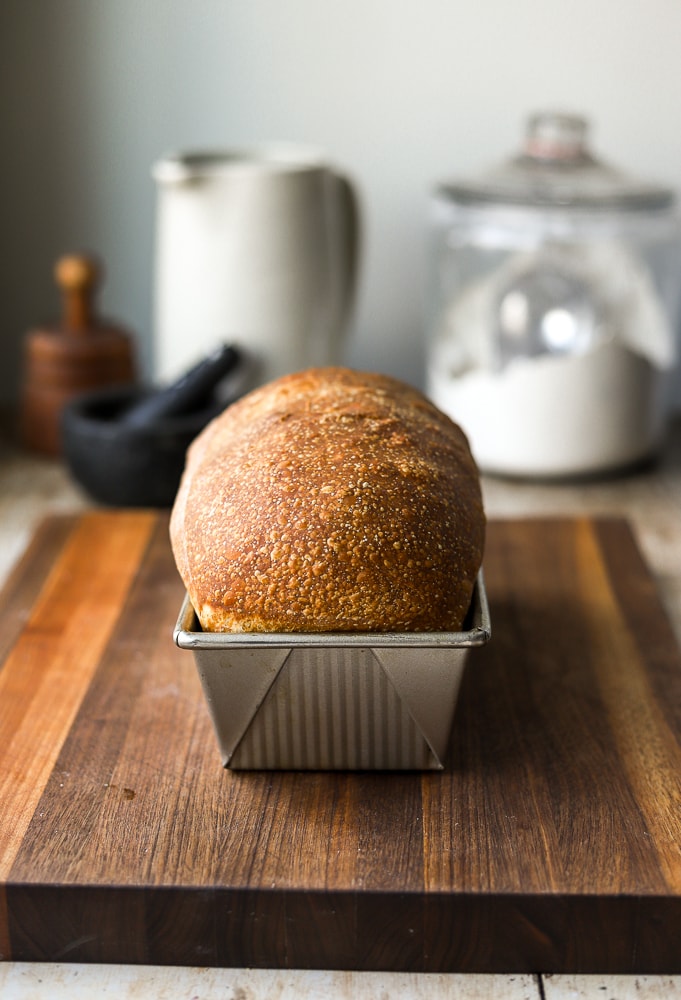
How to shape sourdough sandwich bread
Lightly flour your work surface, and pour the dough out. Pat the dough into a rectangular shape, 9×12″. Roll the dough up into a log, and pinch the seam shut, as well as the ends of the loaf. Place the shaped loaf into the prepared pan, seam side down.
Cover the loaf pan with the shower cap, and let the loaf proof for 10-12 hours, ideally overnight.
The next morning, preheat the oven to 375℉. Spray the top of the loaf with water. Place 6-8 ice cubes in the bottom of the oven to create steam. When the oven is hot, bake the loaf, spraying extra water inside the oven as you place the pan inside to create even more steam.
Bake the bread for 35-45 minutes until the top is deeply golden brown. Allow the loaf to cool completely, then slice and enjoy!
How to store homemade sourdough bread
I like to store my homemade bread at room temperature, in an airtight container or bag for up to 3 days. After that, it’s best to slice the bread and freeze. It’s lovely to take the frozen slices out one at a time, and pop them straight into the toaster. They toast up perfectly and taste freshly baked.
If you loved this delicious Soft Sourdough Sandwich Bread recipe, I would truly appreciate it so much if you would give a star review! Also, be sure to snap a picture of your finished dish and share it with me on Instagram @lions.bread. It always makes my day seeing your creations!
For more delicious Lion’s Bread recipes, be sure to follow us on Pinterest, and Instagram.
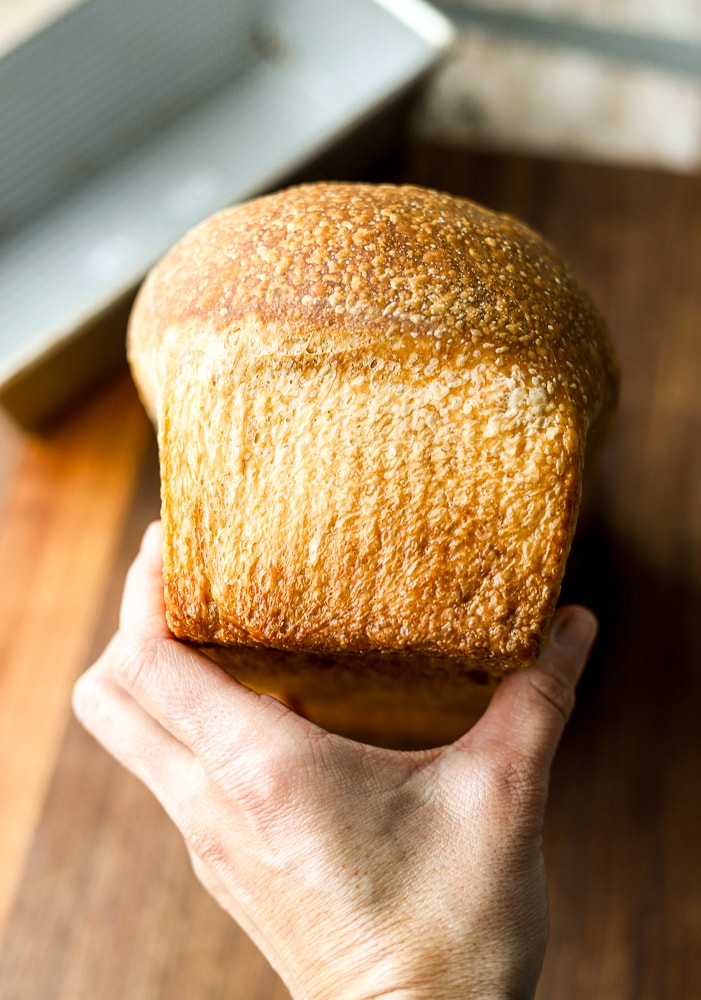
perfectly crispy thin crust
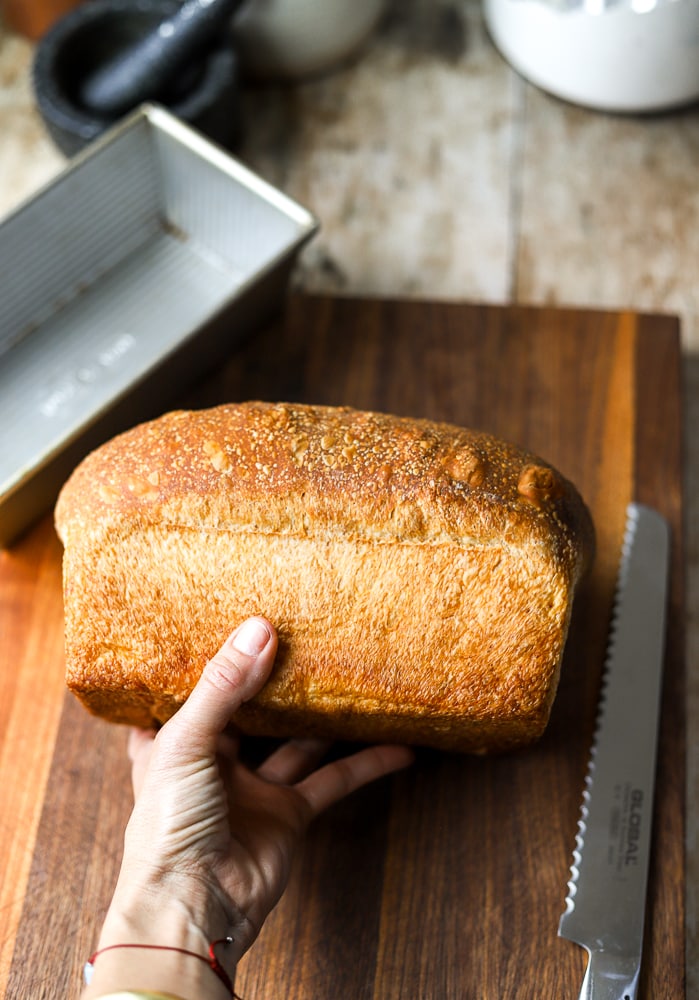
your sandwiches are going to be next level
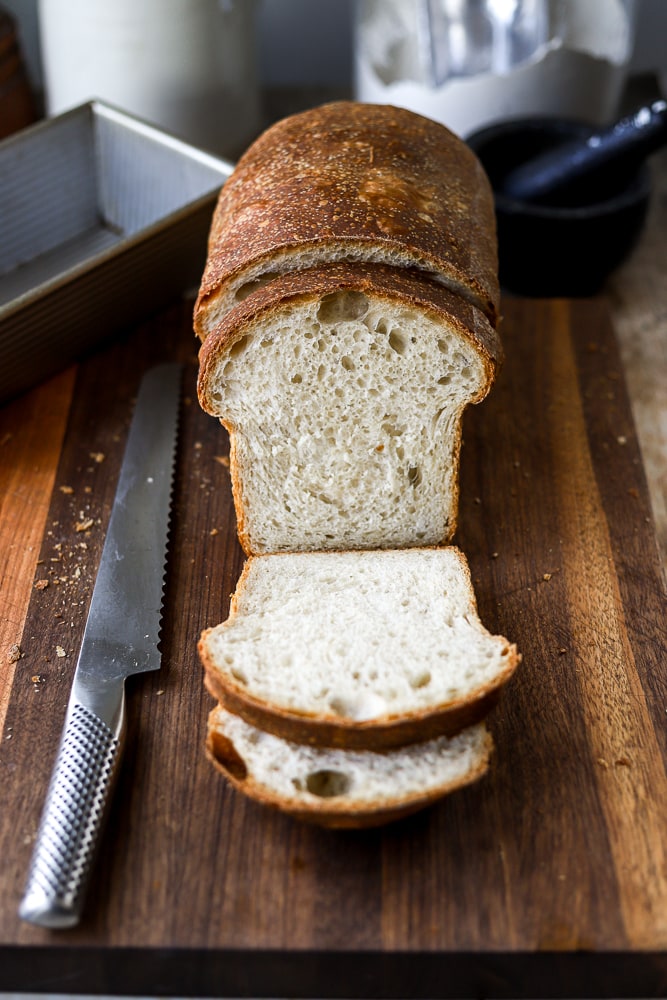
slices up so beautifully
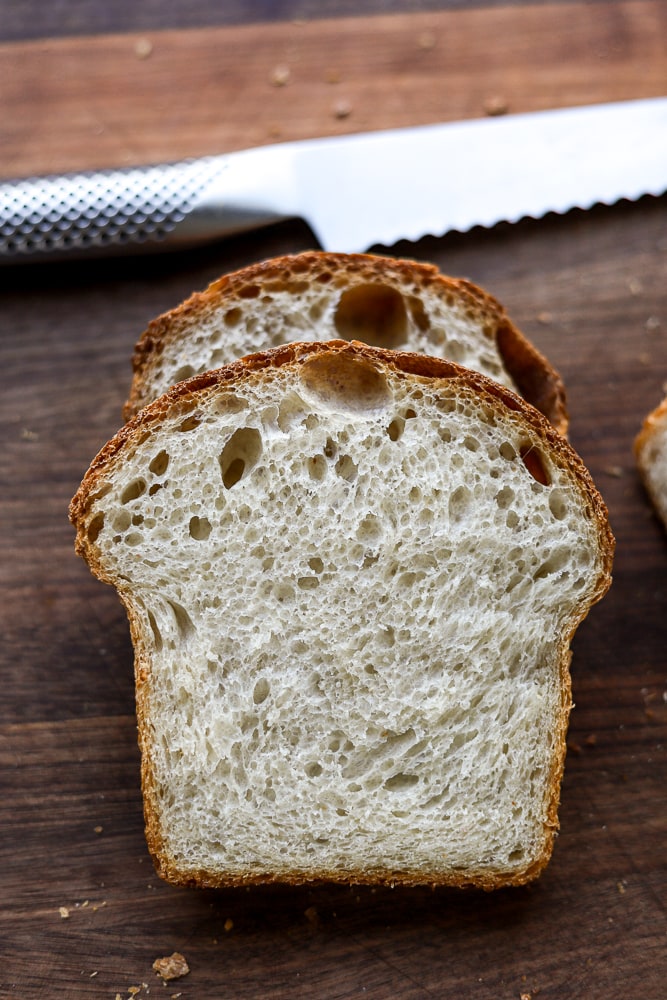
airy light crumb
make homemade bread. the end.
The recipe
Soft Sourdough Sandwich Bread
a delicious light and airy loaf of sandwich bread, 100% naturally leavened with sourdough
Ingredients
- 240 g warm water about 80° F
- 110 g active sourdough starter
- 20 g olive oil
- 20 g raw honey
- 415 g unbleached all purpose flour
- 10 g kosher salt
Instructions
In a large mixing bowl, combine the warm water, and the sourdough starter. Use your fingers, or a Danish dough whisk to dissolve the sourdough starter into the water.
Add the olive oil, and the raw honey to the bowl. Whisk to incorporate.
Pour in the unbleached all purpose flour, and the kosher salt. Use a wooden spoon, or your hands to incorporate the flour into the wet ingredients. The dough will be shaggy, but that's ok. Use you hands to pinch the dough to combine. Knead the dough for a minute in the bowl, then cover with a clean shower cap, or plastic wrap. Let the dough rest for 30 minutes.
It's time to stretch and fold the dough. This is a gentle form of kneading the dough and developing the gluten. Start by lifting up one corner of the dough as far as it will go without tearing. Then fold it over the dough ball. Rotate the bowl, and repeat with the next side of dough, working your way all around the bowl. Cover the dough, and let it rest for another 30 minutes.
Do one more set of stretch and folds. The dough should be much smoother this time.
Cover the bowl with plastic wrap or a shower cap, and let it proof at room temperature for 4-5 hours until it is relaxed and puffy.
Spray a 9x4" loaf pan with nonstick cooking spray, making sure to spray the sides.
Lightly flour your work surface, and pour the dough out. Pat the dough into a rectangular shape, 9x12". Roll the dough up into a log, and pinch the seam shut, as well as the ends of the loaf. Place the shaped loaf into the prepared pan, seam side down.
Cover the loaf pan with the shower cap, and let the loaf proof for 10-12 hours at cool room temperature, ideally overnight.
The next morning, preheat the oven to 375℉. Spray the top of the loaf with water. Place 6-8 ice cubes in the bottom of the oven to create steam. When the oven is hot, bake the loaf, spraying extra water inside the oven as you place the pan inside to create even more steam.
Bake the bread for 35-45 minutes until the top is deeply golden brown. Allow the loaf to cool completely, then slice and enjoy!
Recipe Notes
- For super thin sandwich slices, wait until the next day to slice the bread.
- Store leftover bread in an airtight bag or container at room temperature for up to 3 days. This bread can also be stored int he freezer for up to 2 months.
The post Soft Sourdough Sandwich Bread first appeared on Lion’s Bread Blog.
Leave a rating and a comment below if you tried this recipe!


Christina says
Is the 10-12 hour proof on the counter or in the fridge?
LeAnne says
Updated the recipe to clarify, it’s done at cool room temperature! Thanks Christina
Judy says
What does cool room temperature mean? I get it if it’s summer and you have AC on. But in winter the heat is on, and the temperature fluctuates. Cool room temp is perplexing
LeAnne says
Hi Judy, the room temperature of kitchens varies greatly, but cool room temperature means under 70 degrees F. If your kitchen is warmer than that, I would let the loaf proof at room temperature for half of the time, and put it in the fridge for the other half, so that it doesn’t overproof.
Hope that helps!
LeAnne
Rebecca says
Love this recipe! Super simple and hands off. I will be make this again and again.
LeAnne says
I love that it’s hands off! Thanks Rebecca 🙂
Barbara says
Can’t wait to make this! I see the first 4-5 hour proof is done at room temperature…Is the overnight proof done at room temperature as well or in the refrigerator?
Thank you!
LeAnne says
Yes! It’s 10-12 hours at a cool room temperature. I updated the recipe to clarify that. Hope you love it!
Diane says
As usual, another one of your bread recipes is wonderful!! Definitely will be making this again.
Melissa says
Using all self control as I wait for my bread to cool completely as I write this! A great recipe. I stuck my loaf pan covered in the fridge overnight and took it out in the morning, let it dome to the top of the pain at room temperature, which was around 5 hours for me. Can’t wait to try it.
LeAnne says
I know it’s so hard haha! Hope you loved it. -LeAnne
Dee says
Hi LeAnne,
I tried to leave a comment for the Perfect Soft Sandwich Bread but there was no comment box. Loved the easy recipe and taste! But I just had one issue with my loaves. I weighed all ingredients and kneaded as directed but they came out kind of “heavy” or dense. Did I possibly under/over knead or maybe I didn’t bake them long enough? They weren’t quite as deeply golden as yours, more light golden. We definitely still ate them, though! Thanks!
LeAnne says
It’s hard to troubleshoot from afar, but if it was dense, it might have been under proofed. Next time, try to let it proof longer before baking. Every oven tends to bake slightly differently, but for a darker color, bake for an additional 10 minutes. Hope that helps! – LeAnne
Emily says
Hi LeAnne, thanks for sharing this beautiful recipe! I can’t wait to try it. I’m wondering if I could try mixing in some whole wheat flour? If so, what amount do you recommend/would I have to adjust the amount of water? Also, do you recommend allowing the bread to cool for at least a full hour before slicing just like SD boules baked in the dutch oven? Thanks again.
LeAnne says
Hi Emily, I haven’t tried subbing in any different flours, so I can’t say what the results will be. Adding whole grain flours does affect the water to flour ration since whole grain flours tend to be thirstier. Please let me know if you try it. That being said, I’ll start to develop a sourdough whole wheat sandwich bread too 🙂
Ronja says
Hi!
I would love to make two loaves of this bread at a time so I was wondering if I should double the amount of sourdough starter as well?
LeAnne says
Yes! double each ingredient for a double batch. Thanks, LeAnne
Debra says
I successfully made my first loaf and gave it to my oldest daughter and her kids. They said it was AMAZING! Now my other kids are requesting a loaf.
With that said, if I want to make a double batch of bread, do I simply just double all of the ingredients?
Sorry…still new to sourdough despite my starter(Betsy Ross) being so active).
LeAnne says
Yayyyyy! My kids LOVE it too. Yes, absolutely double the amount of starter to make a double batch 🙂 Thanks SO much for your feedback, it means the world!
-LeAnne
Eliane says
Perfect recipe !Thank you
LeAnne says
I’m so glad you love! Thanks for taking the taking the time to let me know – LeAnne
Elizabeth says
So delicious! I wasn’t able to let it fully rise for the last proofing but it was close enough and still turned out amazing! I definitely plan on making this again! ❤️
LeAnne says
Thank you Elizabeth! I love the flexibility of the recipe with the fermentation times, so even even when you get close, it still makes a great loaf! Thanks for the feedback – LeAnne
Ariel says
Do you think I could extend the first proof and shorten the second proof to make up for it?
LeAnne says
Absolutely! Since you’re using a structured loaf pan, you have more flexibility with the fermentation timetable. Let me know what you think when you try it 🙂 – LeAnne
Emily says
I shared my love for this sandwich loaf on instagram already, but had to submit a review here as well because I’m just so pleased with the final result! I love how hands-off this recipe is, and it has the perfect level of subtle sour flavor. Can’t wait for a future partially whole wheat recipe 🙂
David says
What about using KA bread flour?
LeAnne says
Hi David!! Sure, you can definitely use KA Bread Flour. Always a solid choice to substitute in any of my bread recipes. Hope you’re well!
-LeAnne