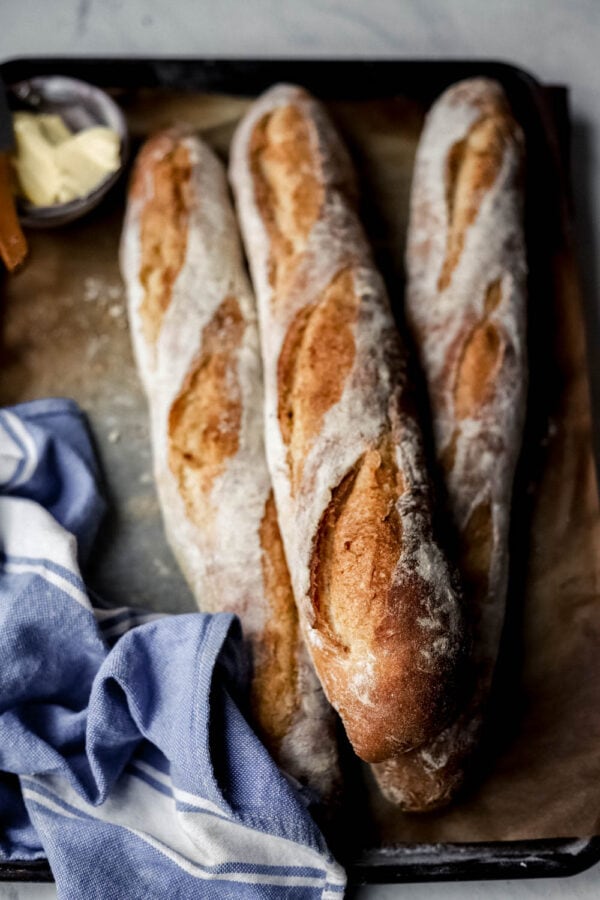
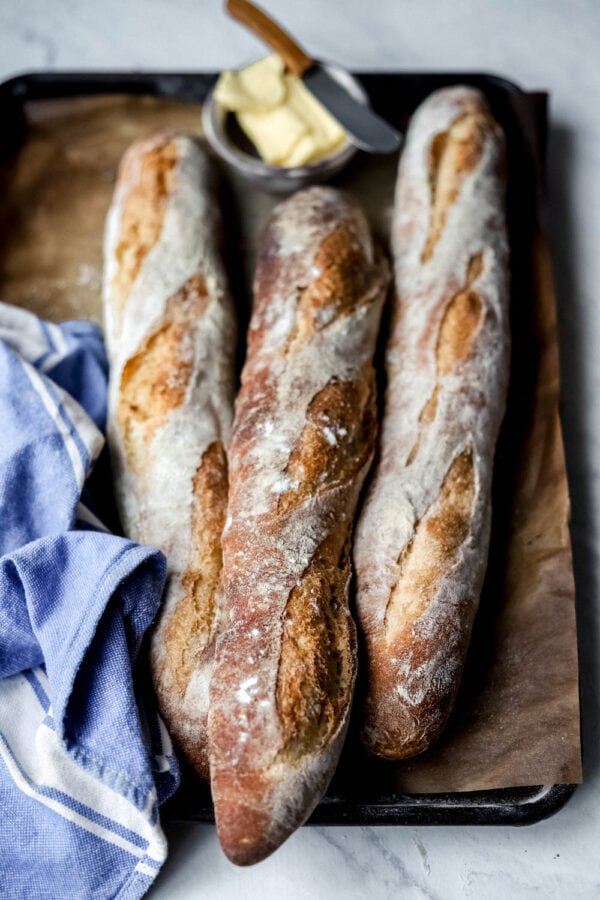
There are few finer things in life than really crusty, chewy Rustic French Baguettes – perfectly satisfying to bake at home
If you’re new here, welcome! I develop and write recipes for really delicious artisan bakes, in the simplest way possible. I love to streamline the process, and simplify techniques so that anyone can enjoy really good bread. It’s a basic human right IMO.
There are two ways to leaven a baguette (make it rise): with live sourdough cultures OR commercial yeast. Be sure to check out my Sourdough Baguette Guide HERE. Since I’ve already shown you how to harness the mystical magic of sourdough, I thought you should ALSO have a great recipe to craft baguettes at home using just a bit of commercial yeast. The trick is to use only a 1/2 teaspoon of yeast (3g) and let time do the rest of the work to develop delicious flavor, and airy chewy texture.
WHERE DO BAGUETTES COME FROM?
Some say that Baguettes actually originated in Austria, and were brought to France in the early 19th century. It wasn’t until the early 20th century that they became an iconic symbol of Paris. At that time, Paris was a bustling metropolitan city full of young people and artists, who were often single. They didn’t need a whole boule of bread to feed a big family, as people who lived in the countryside would. Instead, the baguette was enough for a meal or two, for 1 person. Also, it was super portable and could be thrown into the basket of a bicycle or knapsack.
WHAT MAKES A GOOD RUSTIC BAGUETTE?
One of life’s greatest questions. This recipe only has 4 ingredients, but they magically bake up into a dreamy baguette that is better than anything you can buy in commercial supermarkets. The hallmarks of a great baguette are: a shattering, thin, crispy outer crust, and an airy, open creamy interior crumb.
HOW DO YOU SHAPE A BAGUETTE?
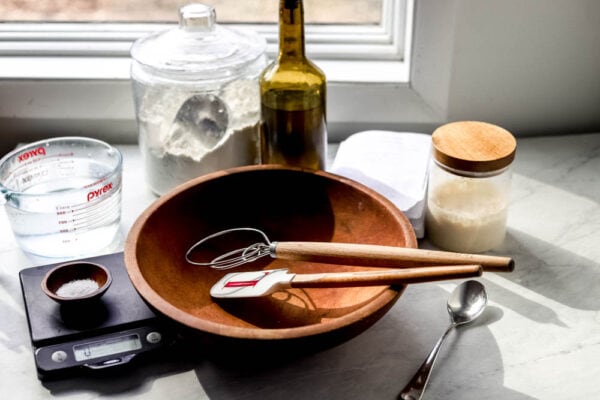
We’ve all played with playdoh and clay as kids, so rolling out a baguette is a similar motion. The most important thing to remember is to work gently with the dough. You DO NOT want to de-gas the dough or deflate the air bubbles that we’ve worked so hard to create. When shaping the dough, you want to do a pre-shape first. When you gently scoop the dough out of the bowl, this first pre-shape is getting the dough in the direction of the elongated baguette shape. I then let the dough rest on the bench for about 5 minutes. This gives the gluten a chance to relax, so that it’s easier to work with when I’m ready to do the final shaping of the dough. For the final shaping, I create tension by pulling the dough over on itself and pinching it shut. There’s a little technique involved here, but I’ve included shaping tutorial videos on my Instagram to help you along.
How to bake with steam?
Baking Rustic French Baguettes in a hot and steamy oven is crucial! By adding plenty of steam to a very hot (500 degree F) oven, you’re keeping the outer crust soft, and allowing the baguettes to rise to their full potential. If you didn’t use steam, the outer crust would harden almost immediately when you launch the dough into the hot oven.
While my oven is preheating, I place a small cast iron pan, or small baking pan, into the oven. Meanwhile, I boil a tea kettle of water. As I’m placing the dough into the oven, I pour the boiling water into the preheated pan, about 2 cups. Be really careful here, and wear actual oven mitts for this part or you’ll burn your forearms, and potentially drop your kettle on your glass oven door (please don’t do that!). There are several different methods for creating steam, including throwing ice cubes in, damp towels, or using a spray bottle. This is my favorite method, but feel free to try them all and find your favorite, of course.
How to slash/score baguettes
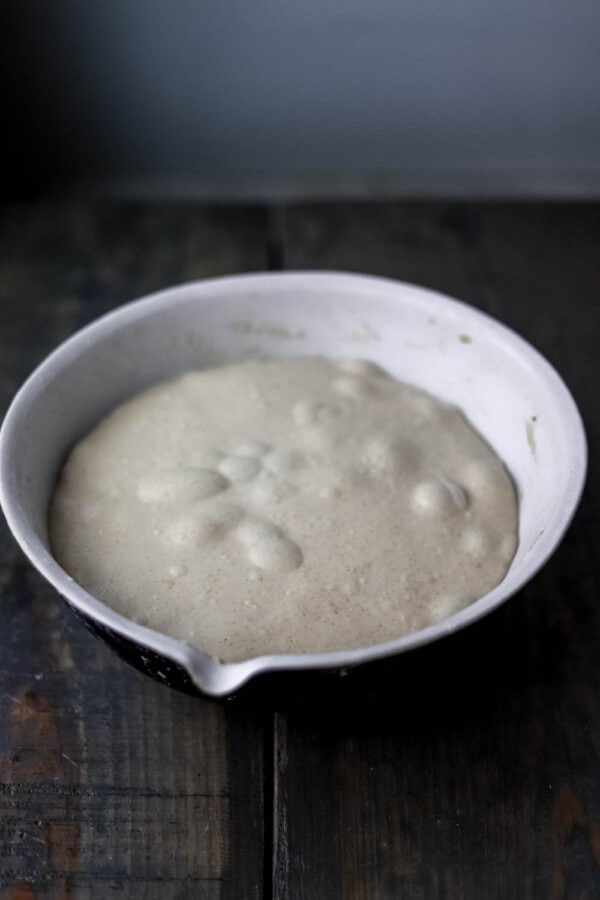
Slashing and scoring baguettes, or any bread for that matter, takes practice. It’s just one of those things. But here are a few helpful tips that I wish I had known when I started out:
- Be confident! I know you’re afraid of potentially ruining your bread, but a solid slash is so important to release the steam building up in your bread. If you don’t score, your bread might just explode.
- Start with a really sharp lame. A lame is a straight edged razor attached to a handle. I prefer the longer wooden handle, because I find it easier to grasp.
- Go deeper than you think. You should be scoring at 1/4″-1/2″ deep.
- Slash at 45 degree angle, going into the dough’s surface. For baguettes specifically, you want to score at a sharp angle going down the bread vertically. You don’t want horizontal slashes.
- Place your baguettes into the preheated oven immediately after scoring, or you risk them deflating.
HOW TO STORE HOMEMADE BAGUETTES
The thing about baguettes is that they taste their best within the first 24 hours after you make them. I always store mine in an airtight bag or bin. One thing I do all the time to revive a baguette that may have hardened a bit is I run the whole baguette under the tap water for about 2 seconds to moisten the crust. Then I pop it in a preheated 350 degree oven for 8-10 minutes. The baguette emerges crispy and soft on the inside, as if you just baked it! If you make want to save one, I suggest freezing the other baguette right away. Cut it in half and place in an airtight bag, and freeze.
INGREDIENTS
- Flour – For these baguettes loaf, I use unbleached all purpose flour from King Arthur Baking Company. It has a higher protein content than most AP flours. You could use bread flour if that’s what you have. If you want to add whole grain flour, replace 50g of the total flour amount with the whole grain flour of your choice. Do not substitute the total amount of flour for whole grain flour, as the results will vary greatly, and you will likely end up with a much more dense baguette.
- Water – I use filtered, room temperature water. Spring bottled water would work too. You just want to avoid using tap water that may have added “purifying” chemicals like chlorine, which can harm yeast bacteria, and prevent fermentation.
- Dry Active Yeast – my go-to brand of yeast is Red Star. I love the consistent results and high quality. Also, I always store my yeast in the fridge to prolong its shelf life. In this recipe, I have you sprinkle the yeast directly into the water, because I know my yeast is fresh. If you have’t used your yeast in a while, it’s a good idea to sprinkle about 1/2 teaspoon into a a cup of room temperature water. Wait for about 5 minutes and look for small bubbles on the surface, which indicate active yeast.
- Kosher salt – I use Morton’s kosher salt in all of my bread recipes. If you are using Diamond Crystal, add another 4 grams of salt.
Baking Schedule
8:00am – Mix dough, cover, let autolyse
8:30am – Stretch and fold #1
9:00am – Stretch and fold #2
9:30am – Stretch and fold #3, then let proof at room temperature for about 5 hours, or until the dough has double in size and is puffy, bubbly, and jiggly
2:30-3:00pm – Preheat the oven. Place cast iron pan in oven for steam. Shape the baguettes. Sprinkle with flour, and cover with a clean towel, and let proof at room temperature for 1 hour.
4:00pm – Transfer dough to a sheet of parchment paper, score/slash, then transfer to preheated oven. Simultaneously, pour 2 cups of boiling water into the preheated cast iron pan to create steam. Bake for 20-25 minutes until deeply golden brown. Allow to cool completely before slicing.
I realllllly hope you love this recipe as much as we all do. I put my heart and soul into it, as always. There’s truly nothing like Homemade fresh Rustic French Baguettes. Disclaimer: It might ruin you for all other bread haha. Please remember to tag me on Instagram if you make these @lions.bread, and remember to tap any image on this post to Pin It to your favorite Pinterest boards. Leave a comment below and let me know what you think 🙂
always, LeAnne
Love this recipe? Be sure to check out Everyday Artisan Bread, Same Day Country Loaf, and Overnight Whole Wheat Sandwich Bread
Rustic French Baguettes
perfectly crusty and crisp on the outside, airy and chewy crumb on the inside, there's nothing better than a fresh Rustic French Baguette
Ingredients
- 360 g filtered water at room temperature
- 3 g yeast
- 500 g unbleached all purpose flour or bread flour
- 11 g salt
Instructions
In a large mixing bowl, combine the room temperature water and yeast. Use a whisk to stir, until the yeast has begun to dissolve. Add the unbleached flour and salt. Use a Danish dough whisk, or your hands, to mix until there are no dry patches of flour left.
Scrape your hands off well, and cover the bowl in plastic wrap. Let rest for 30 minutes at room temperature for the autolyse phase.
Do the first stretch and fold. Dampen your hands with water to prevent the dough from sticking.
With the dough still in the bowl, you want to gently stretch one side of dough up until there's no more give, and fold it over the rest of the dough. Be gentle wit the stretching so that you don't tear the dough.
Work your way around the dough until all sides have been stretched and folded. Then pick the whole ball of dough up and plop it over in the bowl.
Cover with plastic wrap, and let rest for another 30 minutes at room temperature.
Stretch and fold #2. Cover, let rest for another 30 minutes.
Stretch and fold #3, then let the dough bulk ferment at room temperature for 5-6 hours until the surface of the dough is puffy and jiggly.
Line a rimmed sheet pan with a clean kitchen towel. Sprinkle the towel generously with AP flour or rice flour. Set aside.
Pour the dough out onto a lightly floured surface, and divide it into 3 equal parts. With the tips of your fingers, gently press one piece of dough into a rectangle about 8 inches long. Bring the top 1/3 of dough down to the midline, and press down with your fingertips.
Rotate the dough 180 degrees, and bring the open edge up over the folded edge, and use your thumb to press down on the seam. Flour your hands gently, and roll the dough out into a long baguette shape.
Repeat with the remaining 2 pieces of dough.
Place the shaped baguettes onto the prepared towel-lined baking sheet. Gently lift the towel up between the baguettes to create separation between the loaves. Sprinkle the baguettes lightly with flour, and gently lay another clean towel on top. Let rise for one hour at room temperature.
Meanwhile, preheat the oven to 500°F with a pizza stone on the middle rack. Place a small cast iron pan on the bottom rack. Boil a kettle of water. Set aside.
After the baguettes have risen, transfer to a piece of parchment paper. Slash the tops of the baguettes with a lame or a sharp chef's knife. The cuts should be at a sharp angle going down the axis of the baguette. Place the parchment paper directly onto the preheated pizza stone.
Be sure to wear thick oven mitts for this next step.
While the oven door is open, pour the hot water from the kettle into the preheated cast iron pan. There will be a big burst of hot steam, so do this carefully. Slide the pan of water into the oven to create steam in the oven while the baguettes bake. Close the oven door immediately.
Bake for 20-25 minutes, rotating halfway if necessary, until the the crust is deeply golden brown, mahogany in places.
Allow the baguettes to cool completely before slicing. Enjoy!
The post Rustic French Baguettes first appeared on Lion’s Bread Blog.


Abc says
Hi, i don’t have a pizza stone. How should I go about baking this?
LeAnne says
Hi! Great question, you can absolutely just bake these baguettes on a baking sheet, but you’ll likely find the bottoms of the bread won’t get quite as crispy. I will say that I use my pizza stone all the time, and if you’re planning to make more baguettes, pita bread, pizzas, it’s a totally worthwhile investment 🙂
pYnoTlWQueME says
yQkEIZwhCoFgj
Shoko says
I am really looking forward to trying out your baguette recipe! I was wondering if the baguette could be left to proof overnight after the 3rd proof and then bake it in the morning? If so would it have to go into the fridge or can it be left outside? I‘ve got two small kids so baking in the afternoon is more challenging than the morning. My next question is, my oven doesn’t go that high. The maximum I can get it at is 240 degrees Celsius. Would I need to bake it for longer?
LeAnne says
Hi Shoko,
Since we are using yeast in these baguettes (and not sourdough), I wouldn’t recommend letting them proof overnight. I’m afraid they will get overproofed. Regarding the oven temperature, just make sure that you are preheating the oven at its highest temperature for at least 30 minutes. From there, keep a close eye on the color, and bake until they are deeply golden brown.
Hope that helps!
LeAnne