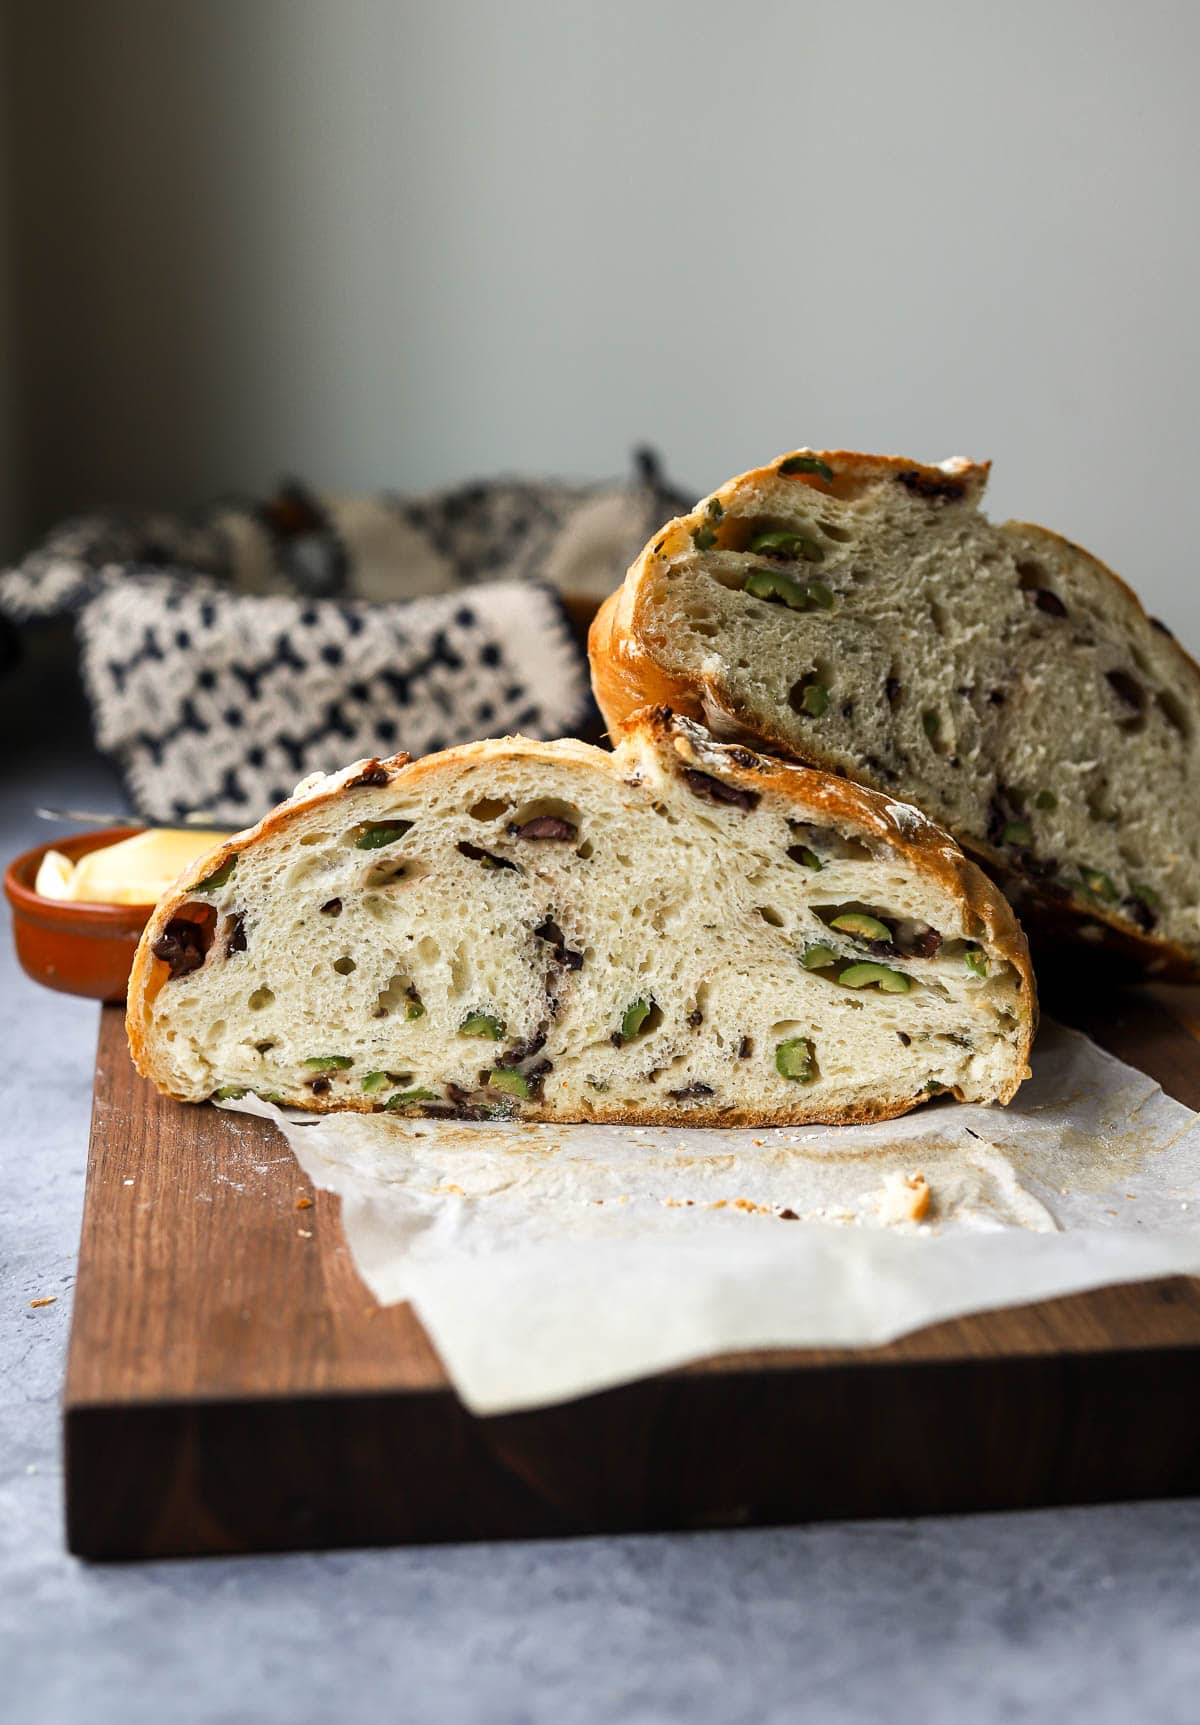
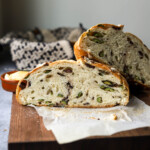
The simplest recipe for No Knead Olive Bread – Delicious crispy artisan bread filled with olives and fresh herbs
WANT MORE SIMPLE AND DELICIOUS BREAD RECIPES? CHECK OUT:
The best Homemade English Muffins
HOW TO MAKE HOMEMADE Olive BREAD
I know it may seem hard to believe, but making really homemade bread is a lot easier than you might think. We’re only using a few ingredients, and the amount of actual hands on work is very minimal. Most of the time, you’re just waiting around for the dough to bulk ferment/proof/rise (all the same thing!). the No Knead method couldn’t be easier!
Start by mixing up the yeast, flour, and water. Let it rest for about an hour. Then add the herbs, olives and salt by pressing them into the dough. Cover the bowl and let the dough ferment at room temperature for 8-12 hours, depending on your room temperature.
Shape the dough into a loaf, let it rise once more, and bake it in a preheated Dutch oven. Voila!
Baking Schedule:
8:00 pm – Mix up water, yeast, flour. let rest for 1 hour.
9:00 pm – Add salt, herbs, and olives. Press in.
The next morning:
7/8:00 am – Shape the bread into a round loaf shape. Let proof for 1 – 1.5 hours. Preheat oven with Dutch oven inside.
9:00 am – Bake!
INGREDIENTS
- unbleached all purpose flour – I use unbleached all purpose flour from King Arthur Baking Company. It has a higher protein content than most AP flours. You could use bread flour if that’s what you have.
- yeast – I use dry active yeast in this recipe, and my favorite brand is Red Star Yeast for its consistent and professional results. I mix the dry active yeast with the warm water to activate it, or “wake it up.” Also, I always store my yeast in the fridge to prolong its shelf life.
- kosher salt – I use Morton’s kosher salt in all of my bread recipes. If you are using Diamond Crystal, add another 4 grams of salt.
- water – I use water that’s about 85 degrees F, slightly warmer than room temperature. It’s important that the water is not too hot, otherwise it will kill the yeast, and your rolls won’t rise properly. A lot of the tap water in the US is treated with chemicals like fluoride and chlorine, which can negatively affect the rise of our dough. To avoid this, I prefer to use filtered spring water for all of my bread baking.
- fresh herbs – I’m using fresh rosemary and thyme. Make sure to only use the leaves here. Feel free to substitute your favorite herbs!
- olives – my favorite olives for this bread are blend of castelvetrano and Kalamata. That being said, use your favorite olives! Just be sure that they are pitted. if there are very oily, I would give them a quick rinse, and let them air dry for 10 minutes before chopping them up.
TOOLS I USE:
- Large mixing bowl – one the most FAQ, this is my favorite bowl for mixing dough!
- kitchen scale – this is an absolutely necessary tool for baking bread. If you want consistent, professional results, weighing your ingredients with a scale is a must.
- Danish dough whisk – this is a quirky looking tool that is actually very useful for mixing up bread dough. If you make bread often, I highly recommend getting one!
- small spray bottle – This basic little tool comes in handy for adding just a little extra shot of extra steam to the oven. Sometimes I spray the tops of the rolls before I place them in the oven to get a blistered crackly top.
- bread lame for slashing dough – there are many styles of bread lames, and ultimately choose the one that is most comfortable in your hand. I love this round style, and I’ve tried almost every style out there.
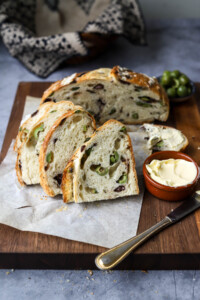
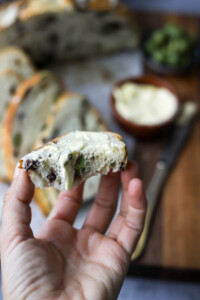
HOW DO YOU MAKE BREAD CRUSTY?
There are three main factors to making really great crusty bread. First, you have to get the hydration level just right. This means the water to flour ratio has to be balanced. If the dough is too wet, for example, it will be very difficult to get a crispy, shatteringly thin delicious crust. The crust will like be thick and tough.
Second, use steam to bake! For this homemade olive bread, we bake it in an enclosed Dutch oven, which traps in the steam while the bread bakes. Adding moisture and steam to the oven keeps the outer crust of the bread soft, which allows the interior of the bread to rise to its full potential before the outer crust hardens.
After the bread has rise fully with the lid of the Dutch oven on, I remove the lid, and let the crust crisp up for another 20 minutes or so.
HOW TO STORE
This delicious No Knead Olive Bread is best stored at room temperature for up to 3 days. Or, place it in an airtight bag, and freeze them for up to 1 month.
See instructions above for reheating the professional way.
I can’t wait to see your take on this No Knead Olive Bread. Remember to tag me @lions.bread in your pics so I can all of the delicious things you’re making from my site. I love seeing my recipes come to life in your kitchens!
Want save this recipe for later? Just click on the “Pin It” buttons on any of the images to save it to your favorite Pinterest Board.
xo – LeAnne
Did you make this recipe? Please Comment and Rate the recipe, I love hearing from you!
No knead Olive Bread
delicious crispy artisan bread filled with olives and fresh herbs
Ingredients
- 315 g room temperature water 75°F
- 1/2 g yeast 1/4 tsp
- 450 g unbleached all purpose flour
- 7 g kosher salt (I use Morton's)
- 155 g castelvetrano green olives and Kalamata olives pitted, roughly chopped
- 1 teaspoon fresh thyme finely chopped
- 2 teaspoons fresh rosemary finely chopped
Instructions
- In a large mixing bowl, combine the water and the yeast. Use a whisk or your fingers to dissolve the yeast in the water.
- Add the all purpose flour to the bowl, and use a wooden spoon to combine. Then use your clean hands to mix and pinch the dough, until there are no dry streaks of flour. Scrape the sides of the howl with a rubber spatula, and cover the bowl with a clean kitchen towel, piece of plastic wrap, or clean shower cap. Let the dough rest (autolyse) at room temperature for about 45 minutes. This will help with gluten development.
- Next, add the kosher salt, chopped olives, and chopped herbs on top of the dough. Use your fingertips to press the olives and herbs down into the dough evenly. Continue until all of the olive are worked into the dough. Cover the bowl with plastic wrap, or a shower cap, and let ferment at room temperature for 10-12 hours (overnight).
The next morning, pour the dough out onto a well-floured surface. Flour your hands generously, and pat the dough gently into a square. Begin to shape the dough into a boule shape by bringing all four corners into the center. Flip the dough over, seam, side down, and let it rest on the counter for five minutes. This is called a bench-rest. Come back to the dough, flip it over, so the seam side is up, and repeat the process by bringing all four corners into the center again, then turn the dough over, so the smooth side is up. Pull it towards you, creating tension and a nice round shape.
Dust your proofing basket with flour, and place the dough seam side up into the proofing basket. Sprinkle the top of the dough with a little bit of flour, and cover with a clean kitchen towel. Let the dough proof at room temperature for 1 to 1.5 hours.
- Meanwhile, place a Dutch oven in the oven on the center rack, and preheat the oven to 450°.
- Once the dough has proofed, invert it into a piece of parchment paper like a sling, and place in the preheated Dutch oven. With the lid on, bake for 25 minutes, then remove the lid and bake for another 20 minutes. Allow the bread to cool on a rack for at least an hour and a half before slicing. Enjoy!
The post No Knead Olive Bread first appeared on Lion’s Bread Blog


Eileen Utjes says
I’ve prepared bread several times before and this no
Miriam says
Ooooooo!!! Olive bread is my favorite!
Is it 155g of each olive or total for both kinds? Can’t wait to try this!
Thank you!
LeAnne says
Great! It is 155g for both types of olives 🙂
SC says
Hello , can I know what alternative do I have if I don’t have a Dutch oven? My oven doesn’t come with steam bake
LeAnne says
The result will be slightly different, but you can bake it on a baking sheet, but to create steam in the oven, place a cast iron skillet or baking pan in bottom of the oven, then carefully add boiling water to the pan as you load the bread into the oven. You can also throw a few ice cubes into the bottom of the oven to create steam as well. happy baking!
Maria Patera says
Hello i think the amount of yeast .
1/2 gram is wrong
I tried to make the bread last night and until this morning nothing!!!
LeAnne says
Hi Maria,
The measurement for yeast is correct since we are doing a long fermentation. Check your yeast to make sure that it is fresh. Hope that helps!
IRENE YAEGER says
i tried other no knead recipes and this is the best!
JohnnyFRX says
Sooo…I just started making no knead breads, and began with a couple of very basic quick recipes all of which turned out pretty good. This Olive dealio turned out INCREDIBLE! I followed your recipe and schedule to the letter(I probably didn’t add enough olives though). Thank you sooo much for sharing the goodness!
LeAnne says
Hi Johnny, I’m SO glad to hear that! Thanks for taking the time to share your feedback 🙂
-LeAnne
Brooke says
Looks amazing can’t wait to bake this bread! What can I use in replacement of a proofing basket?
LeAnne says
Hi Brooke,
Feel free to use a small/medium size mixing bowl lined with a clean kitchen towel. Be sure to dust the towel really well with flour 🙂