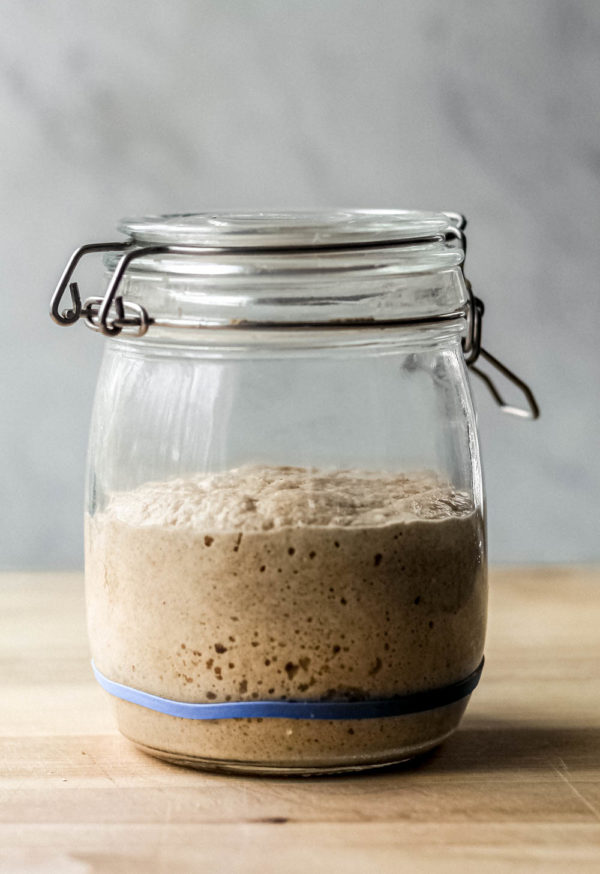
Hi Everyone! Over the past two months, something kind of crazy and unexpected has happened. I went out on a limb on my Instagram stories, and told you all that I wanted to make a Sourdough Starter together, in real time. To be totally honest, I didn’t think very many people would be into it, because it’s a little more advanced and the process requires patience. But, I knew there was no sense in posting my favorite recipe for Homemade Sourdough Bread if you all didn’t know how to make a starter! Hello, I was very wrong! The whole project went kind of viral, and you all kept sending me pictures of your new starter babies thriving, and growing, and rising vigorously! I have documented and saved the whole process in the highlights section on IG, but the recipe deserves it’s own home, so here we are!
What is a sourdough starter?
A sourdough starter is a mixture of flour and water that has fermented over time, and is filled with wild yeast and a bacteria called lactobacilli. For thousands of years, bakers have used starters to leaven breads and baked goods. Before rising agents such as commercial yeast, baking powder, and baking soda came on the scene, starters were the only way to get baked goods to rise. The sourdough starter also gives artisan bread its signature tangy sour flavor. Ever been to San Francisco? It’s known worldwide the famous sourdough bread, especially the famous bakers at Boudin Bakery. Apparently, the wild yeast in the salty ocean air of San Francisco produces the best bread. Each starter will be unique in that way! Since you’ll be creating the starter in your own home, the flavor of the starter will be specific to your air, along with the flour and water that you choose to use.
How do you make a sourdough starter?
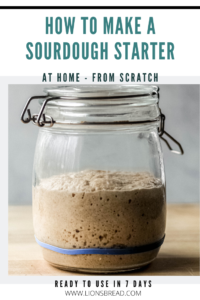
The process of making a sourdough is actually very simple. All you need is patience. From start to end, the process takes about 7 days. On Day 1, you’ll mix up a small amount of whole wheat flour and filtered, room temperature water in a small glass jar. You don’t want an airtight seal, because you need the wild yeast in the air to reach the doughy mixture. The mixture sits at room temperature for 24-48 hours until it begins to show signs of life and small bubbles. Then, you begin your feeding schedule. That’s right, I said feeding! You have to think of your sourdough starter as a living organism, because it is! Think of it as a pet that you need to feed and water. You should feed your sourdough starter every 12-24 hours for this first 7-day period.
Before each feed, you will discard HALF of the mixture, simply by scooping it out and throwing it away. Very simply, you have to discard half because if you don’t, you’ll end up with a barrel of sourdough starter that will never fit in your fridge, and you definitely don’t need that much. But keeping our total amount very small, there’s less waste overall. Once your sourdough starter is active and mature, there are lots of ways to use the discarded fermented dough (like sourdough pancakes, etc). But in the beginning, it lacks flavor and rising power, so there’s not much use for it.
It’s important to use the same kind of flour the entire time you’re making your starter. For example, don’t switch between bleached all purpose flour one day, and whole wheat the next. I prefer to use unbleached whole wheat flour ONLY for my starter because it gives the finished bread a very wholesome, complex flavor.
What tools do I need?
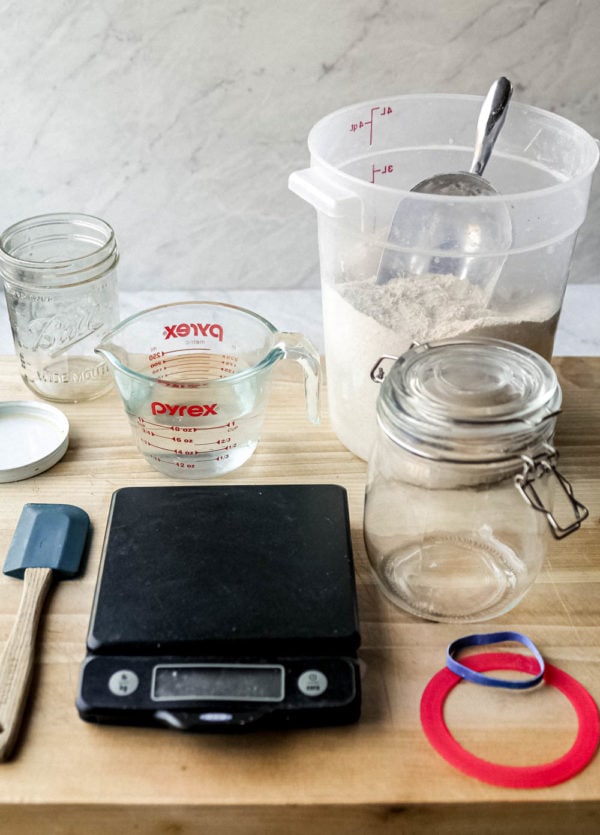
The tools for this project are pretty simple:
Kitchen Scale: I always bake bread using weight measurements because they tend to be much more accurate, and deliver more consistent results. I personally use this OXO Kitchen Scale and I love it!
Glass Jar with gasket: I always use a glass jar (as opposed to plastic) because sourdough is acidic, and can eat away at plastic over time. I like a jar that has a snap on lid, and I always remove the rubber seal so that air can enter the jar.
Small rubber spatula: You’ll use this tiny spatula to scrape down your starter jar every time you feed it!
Filtered Water: Use filtered water because a lot of tap water can additives that harm the bacteria growth that we actually want! Make sure it is ALWAYS at room temperature, never hot. Hot water will kill your starter.
High Quality Whole Wheat Flour: My tried and true flour comes from King Arthur Flour. Remember to stick to one kind of whole grain flour with your starter, I use unbleached whole wheat!
Rubber band: I use a rubber band to track how far my starter has grown at each feeding. Any kind of rubber band will do hehe.
How do I know if my sourdough starter will work?
No need to guess! You’re starter is ready to bake bread if it successfully passes the Float Test.
The Float Test
On day 7, after your starter has been fed consistently, rises significantly, and appears bubbly, it is time to do the Float test. This test determines if your starter is strong enough to make bread rise properly. All you have to do is fill a cup with water, then with a small teaspoon, scoop out a bit of starter and gently plop it into the cup of water. If the starter floats, you’re good to make bread! If the starter sinks, you likely need to feed it a couple more times to gain strength.
How to Store your Sourdough Starter
Ok friends, this is pretty important, so listen up! Fast forward a few steps: You’ve made your starter, it has passed the Float Test, you’ve baked a great loaf of bread. Where do you store your sourdough starter? In the fridge! Your new starter can be stored in the fridge until the end of time. Well, that’s almost completely true. You will still have to take it out at least once a week and feed, to keep it alive, and to WAKE IT UP (refresh) it before you can use to bake. I’ve sometimes gone as long as 3-4 weeks without feeding mine, but that meant that I had to take it out and feed it at least 2x before baking with it.
If you remove the starter from the fridge and notice a grey layer of discolored dough, and possibly some liquid on top, it’s fine! Just use a spoon to scrape all that stuff off, and throw it away. Feed as usual.
I really really hope that you find this post and method useful, and I’m truly so excited that tons of you are discovering bread baking, and sourdough baking at that! Bravo friends! I love seeing all of my recipes come to life in your kitchens, (especially bread! )so keep tagging me on Instagram, so I can see what you’re making from the blog @lions.bread!
If this method was helpful to you, please let me know in the comments below!
How to Make a Sourdough Starter
A step-by-step tutorial for making your own sourdough starter from scratch
Ingredients
- 360 g unbleached whole wheat flour
- 360 g room temperature, filtered water
Instructions
Combine 60g of whole wheat flour and 60g of filtered room temperature water in a glass jar. Stir to combine well, leaving no dry patches of flour. If the mixture is very thick and another teaspoon of water. Scrape down the sides with a rubber spatula
Remove the airtight seal from your jar and place the lid on top. Place the jar at room temperature for 24-48 hours, until you begin to see the mixture bubbling up. This may take another 12 hours depending on the temperature in your room. A colder room may take longer.
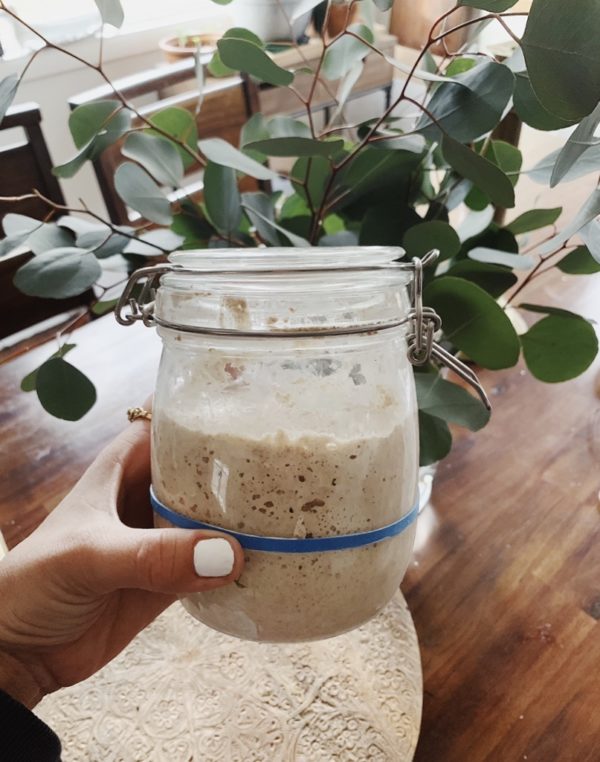
Add 60g whole flour, and 60g room temperature water, stir well to combine, and let sit out for 12-24 hours. Place a rubber band on the outside of the jar, at the top of the mixture, to track how how high the mixture has grown.
Use a spoon to discard half of the mixture, and throw it away. Feed the starter another 60g each of flour and water. Continue this process once a day for a total of 7 days. Discard half, then feed with 60g of flour and water. If you don't notice significant growth each time, feed the starter twice a day, AM and PM.
By Day 7, perform the Float Test to determine if your starter is strong enough to bake bread with. Feed the starter in the AM, then about 3-5 hours after the feed, the starter should be at it's most bubbly point. Fill a cup with water, and use a small spoon to scoop out about a tablespoon of starter. Gently place it in the cup. If the mixture floats, you're ready to bake bread! Congratulations! If it doesn't float, don't worry. Feed the starter about 2 more times, then retest!
Recipe Notes
Scroll up for a complete list of tools, and tons of useful tips!
The post How to Make a Sourdough Starter first appeared on Lion’s Bread Blog.
This post contains some affiliate links. I do receive a percentage of any purchases you make at no additional cost to you. Thank you for supporting Lion’s Bread!


Terry Parnell says
Leanne! I can’t thank you enough for your wonderful recipes, videos and content. You have been a wonderful inspiration and have helped me with some other wonderful bakers to awaken a curiosity, creativity and joy. Thank you so much
LeAnne says
Hi Terry! That’s incredibly kind of you, wow! I’m so glad that you love the recipes – x
Janet Brower says
Tomorrow 9 (Tuesday) will be day 7 for me and the float test. If I feed my starter in the morning and do the float test 3-5 hours later, around mid-day, when should I start the next step – making the levain? Will my starter be okay to make the levain Wednesday morning or should I feed it again first?
LeAnne says
Hi Janet,
Great question. Once your starter passes the float test test, you can make the levain immediately! If you’re not ready to make the levain yet, then feed it once more until you are ready.
Hope that helps! xo – L
Sandra D'Hooghe says
Hi, looks like something I’d love to try.
Could you tell me if it also works with whole buckwheat flour?
Thanks!
Sandra (Belgium)
LeAnne says
Hi Sandra! It would work with buckwheat flour but I think flavor might be very different and intense. I’d suggest using about a portion of buckwheat flour, maybe a tablespoon, but not the whole amount of flour.
kariyer adam says
Wow, this article is fastidious, my younger sister is analyzing such things, thus I am going to convey her.